28 Jan Perfect Mirror Measuring
We all know that with interior design the devil is in the details. That means that all of the design elements are intentional and flow together. So in terms of custom framing a mirror, correct size can be the most important aspect. In this article, we are going to go over how to ensure your mirror is framed to perfection.
Step 1: Figure out what size mirror you want. Let’s use the example of a vanity mirror, and for the space we want it to be an outer dimension (OD) of 32″ x 46”.
Step 2: Pick a frame! This is the more fun part of the process, but an important step for establishing our outer dimension. Our framing designers can help you select the frame that is most cohesive with your vision, or work with you to visualize what that might look like. In this case let’s say that we have selected this frame below, the LJ Bronze Spoleto slope frame.
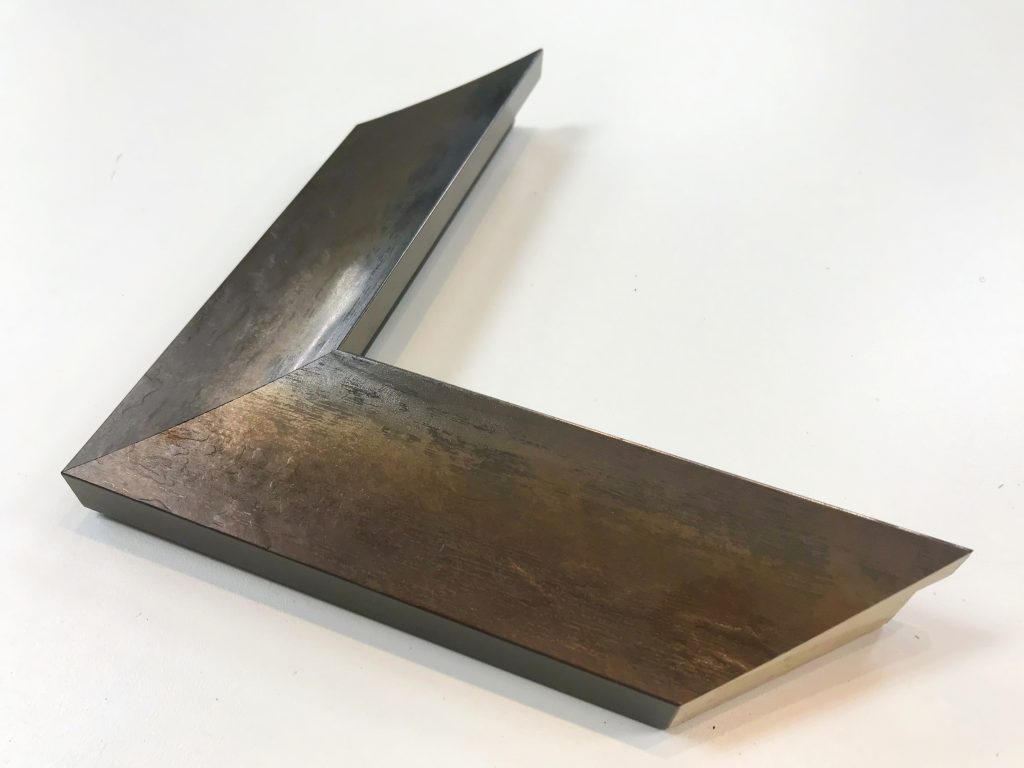
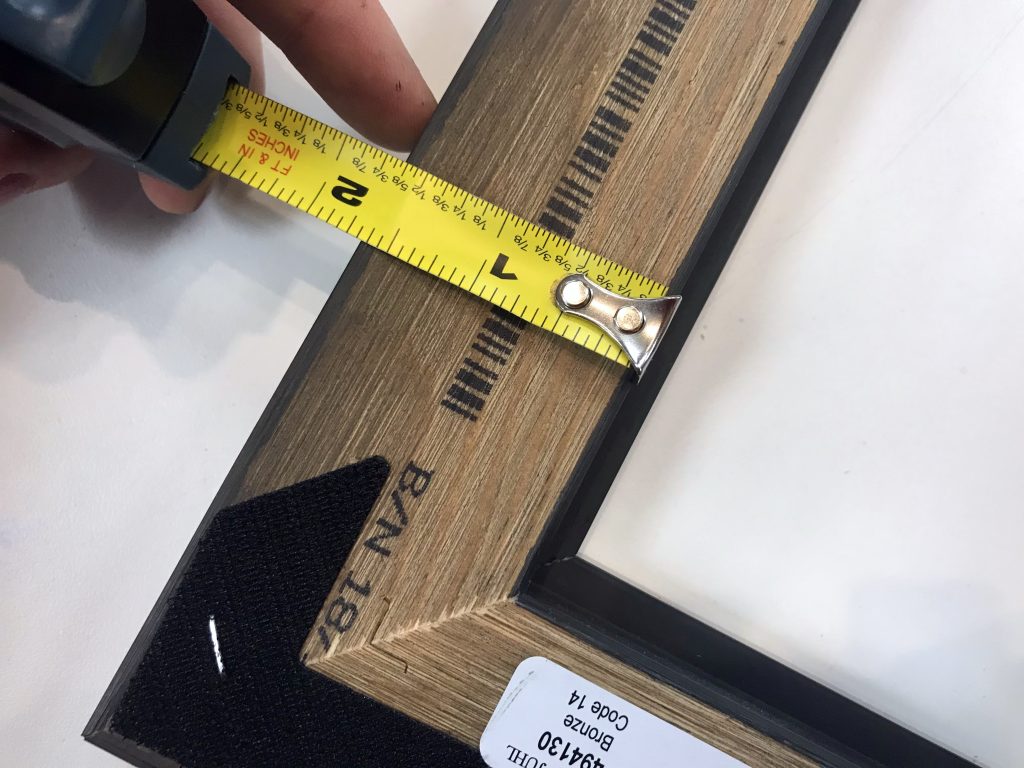
Step 3: FRAME MATH! Once you’ve selected your frame, it’s time to figure out what size we need the mirror to be, given the width of the frame we selected. The width of the moulding is going to be measured from the back, excluding the rabbit (the lip of the moulding that holds everything in). For the frame we selected, the width would be 1 11/16”. We will then multiply that width times two to establish the adwidth; in this case, the adwidth (AW) being 3.375”.
Step 4: MIRROR MATH! We have established that our adwidth for our selected frame is 3.375” and we want our outer dimension to be 32”x 46”— the last thing to do is subtract the AW from the OD. [ 32”-3.375”= 28.625” // 46”-3.375”= 42.625” ]
STEP 5: We’ve selected our frame & done our math and now all that is left to do is order the mirror! If we order the mirror at 28.625”x42.625” then we will get a perfect outer dimension of 32”x46”.

