

30 May Using Matting Like A Framing Pro
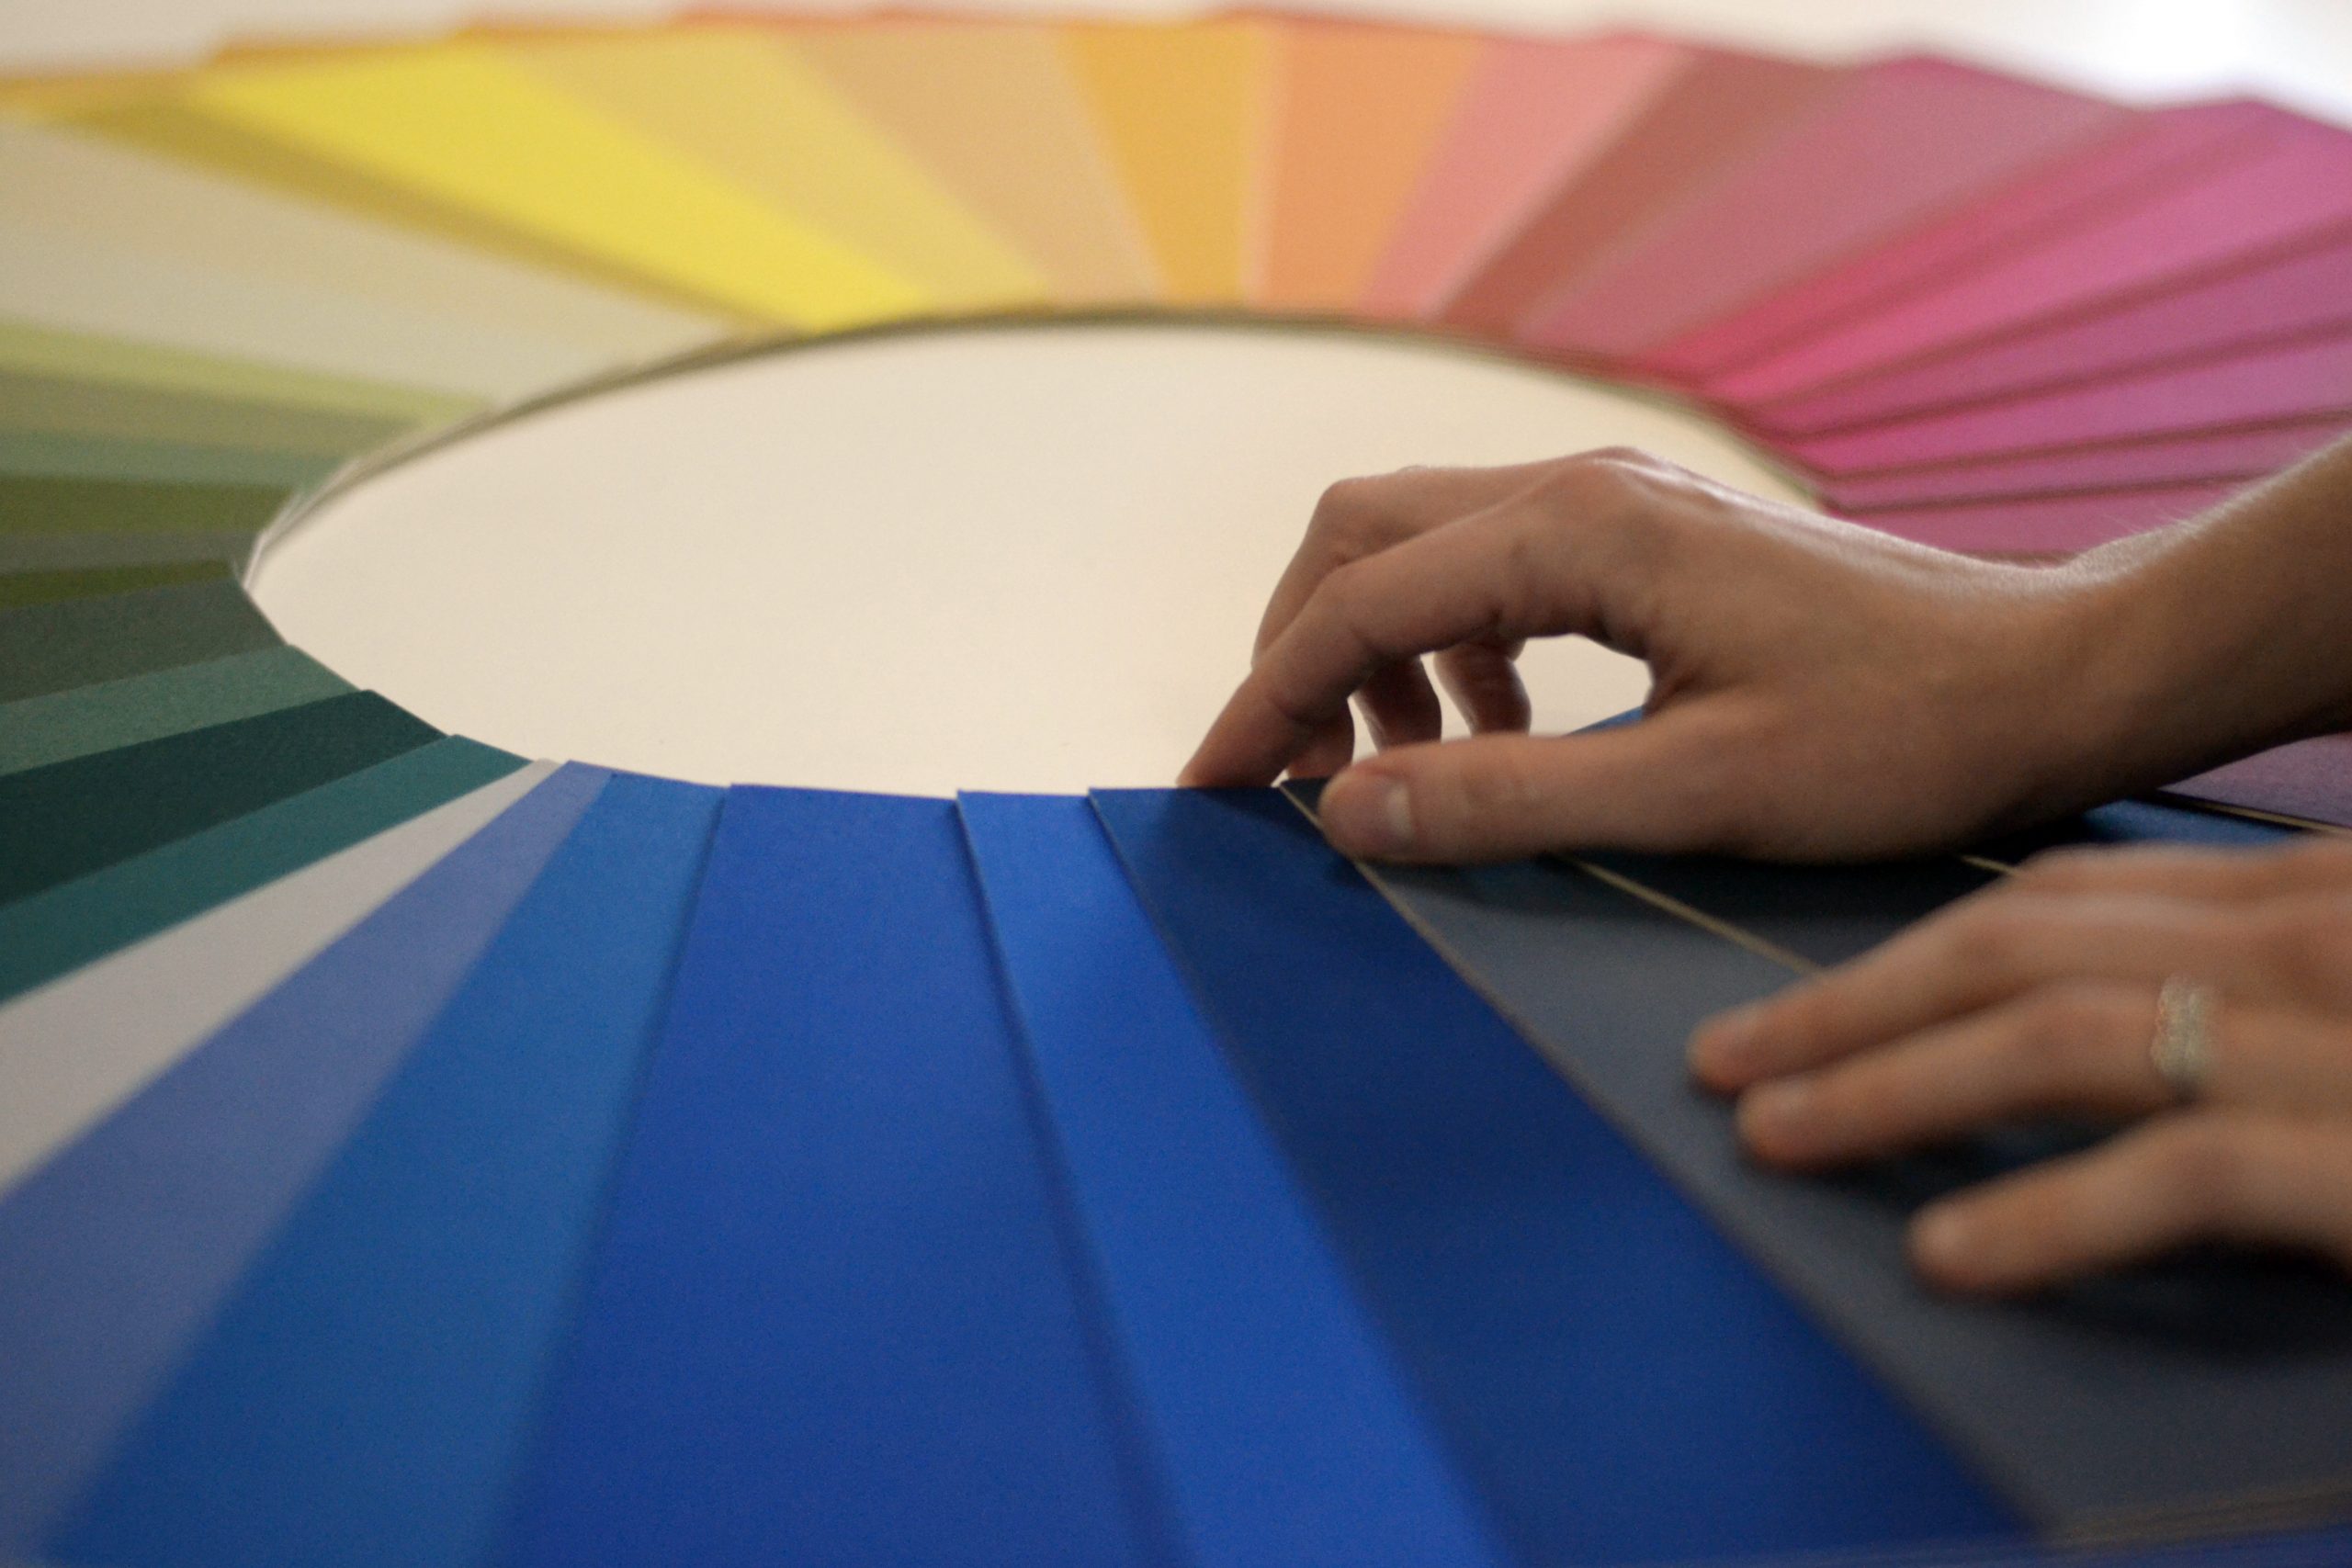
There are thousands of different colors and textures of mat board available for framing. Whatever you want- it can be done. Come down to our shop and you’ll see what we mean.
In this blog we will discuss how to use matting, mat cut options, and decorative matting elements to create different framing displays.
Pictures speak louder than I can, so here we go on a visual guide to matting!
Single Mat
Probably the most common matting presentation: a single mat used either over (standard presentation) or under (float mount) the piece of art.


Double Mat
Double mats are also very common, and a simple way to create a bit more interest in a custom framing display. “Standard” bottom mat reveals are 1/4″, or 1/8″. Of course, you can do whatever reveal/matting proportion you want- and the possibilities are almost endless.


")
")
Triple+ Matting
Triple mats or more are less common, but can create very custom framing displays with interest & dimension. You could stack as many mats you want, but keep in mind, you don’t want to introduce so many mats that it takes away from the artwork. It is a delicate dance to create intricate matting designs, without overshadowing the artwork itself.
")

Raises & Pedestals
A raise is a common addition to matting and it does as the name suggests: raises the matting up. A raise is made with a piece of foam core cut to be smaller than the mat window opening, creating a floating mat that casts a slight shadow & provides dimension.
A pedestal is a raise that sits underneath the artwork. The foamcore (again cut slightly smaller than the piece) creates a pedestal for the art to sit on- again, creating a nice dimension and casting a slight shadow.

")


Weighted Mats
Standard mat presentations have evenly weighted matting, meaning that the mat has the same width on all sides. A weighted mat is when one (or two) sides of the matting are wider (or heavier) than the others. You generally wouldn’t do three weighted sides because, frankly, that would look a bit odd 99% of the time.


V-Grooves & Colored Mat Bevels
V-Grooves are a decorative element of framing either done by hand or a CMC (computerized mat cutter) where small pinstripes are cut from the matting to create thin lines that reveal the inside mat color. Traditional v-grooves are stacked outside the window opening. V-grooves can be more intricate designs and can be placed anywhere in the matting. V-grooves cut into the matting and reveal the white or black (or color in the case of color-core mats), but they can be hand colored to create a slight color pop. The below Twin Peaks frame up is a good example of this.
Another decorative element that can be done is the hand-coloring of the mat bevel. Standard mat cuts create a beveled opening (again generally white or black) that can be hand colored to create a custom design element.


CMC Pen Tool
The CMC (Computerized Mat Cutter) Pen Tool is a feature of our Wizard Mat Cutter that can draw or write whatever you want (in a variety of fonts) onto matting. This is a great alternative to making plaques or having to hand-write whatever design you’re trying to create. Below we show an example we did recently where we used the CMC Pen Tool to label frame coin mats with the coin’s country of origin.


Mat Shims
Shims are the decorative inner “walls” that are created with mat board to sit on the inside of the frame and create a shadowbox look. Shims can be the same color as the main matting or their own design element.
Shims are great because they create dimension, can be a cool contemporary design element, and allow you to hide the (often unfinished) interior of the moulding.
")

Multiple Mat Openings & Alternative Mat Openings
Who says you have to only frame one piece per frame? Below are examples of standard mounting multiple window pieces & what a multiple opening (still called an “opening” despite not actually cut into the mat) looks like when using a float mount.
Furthermore, who says your mat opening has to be square or rectangular?? Your mat opening can be any shape: circle, heart, star, whatever you desire.

")


Printed & Painted Mats
While there are thousands of available mat colors & textures, sometimes you want something else. That’s where custom printed & painted mats shine.


")
")
Different Mat Plies
Mat ply refers to the thickness of the matting. Standard mats are 2PLY, but for higher end photography and artwork people often choose an 8PLY mat because it elevates the piece.


As you can see, the possibilities are endless with how you can go about matting a piece of art! Hopefully you are feeling inspired and ready to create your own stellar framing design– we’re here for any project: simple or complex!
If you have more matting ideas, let us know in the comments! We’d love to hear from you.